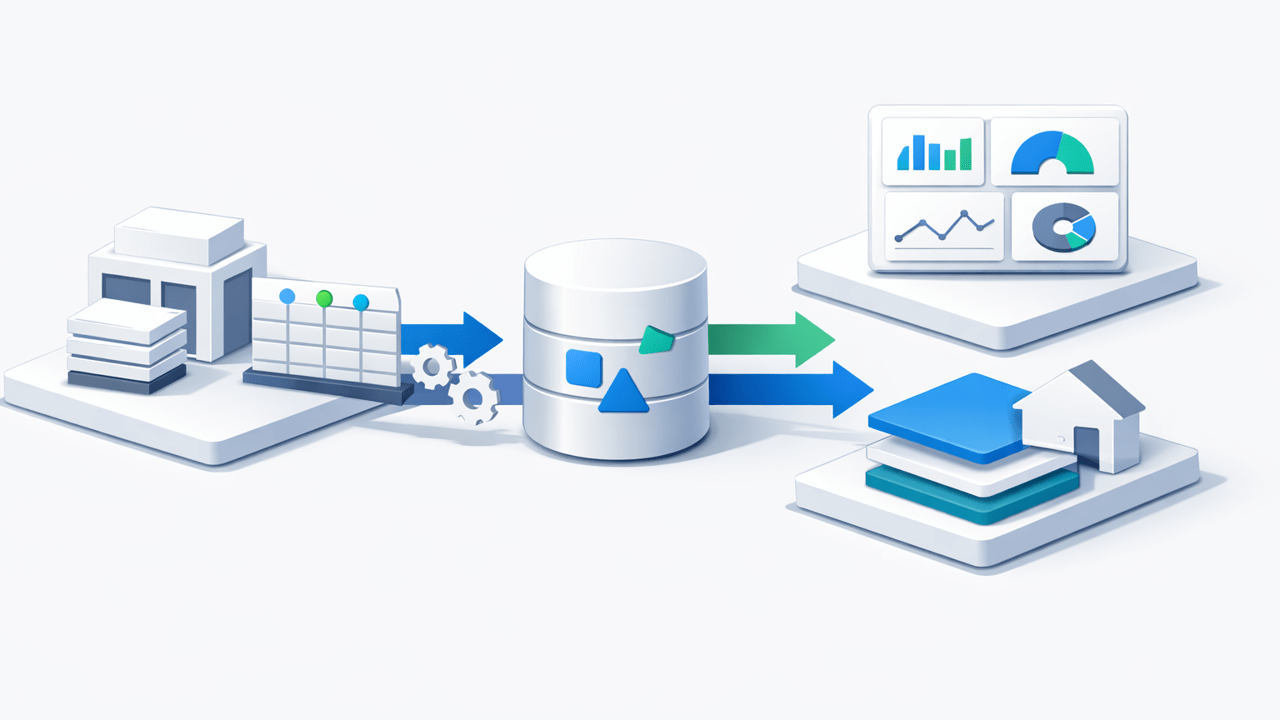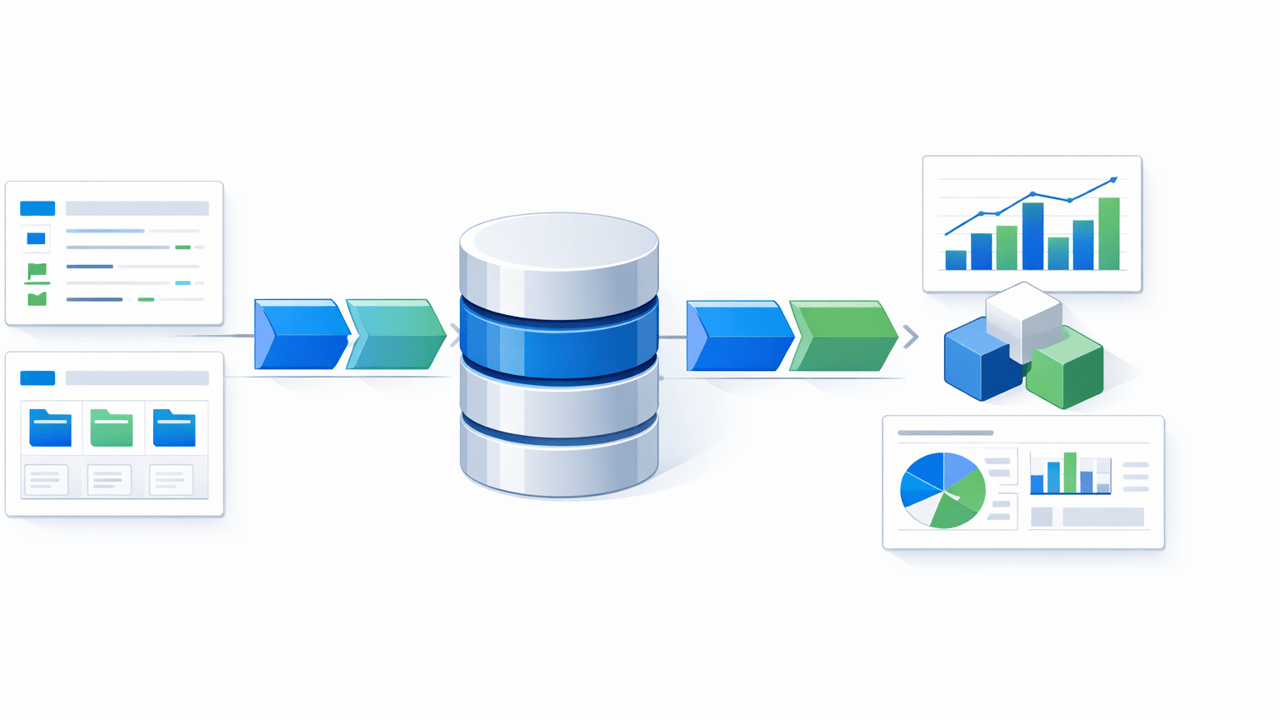
Nowadays, we deal with huge amount of raw data to make business decisions using Business Intelligence technology that helps in accelerating and improving decision-making, optimizing business processes, gaining new revenues and competitive advantage over business entrants. There are many BI tools are available in the market such as Tableau, Qlik, Power BI etc.
Microsoft Power BI is a cloud-based service that enables to collect, filter, combine, analyse and visualise and finally publish your data in form of an analysed report or a visualised report. Power BI provides a simple and user-friendly interface that can be used by business and power-users easily. Also, it allows collecting data from wide range of data sources. If you’re a business or power-user who wants to work robustly on data of your organisation, then you will be using Power BI Desktop or Power Bi Desktop Pro which is free to download.
In this blog, we’re going to use Microsoft Power BI tool to collect data from various sources such as SharePoint, web services, OData and SQL Azure. we’ll explore Power BI Desktop tool to build productive and creative reports. Also, we’ll use Power BI service to publish reports and set up automatic data refresh so everyone can see updated information. So, let’s get started!
Analyse SharePoint List Data using Power BI
To pull the data from SharePoint List and display in Power BI, we’re going to follow steps;
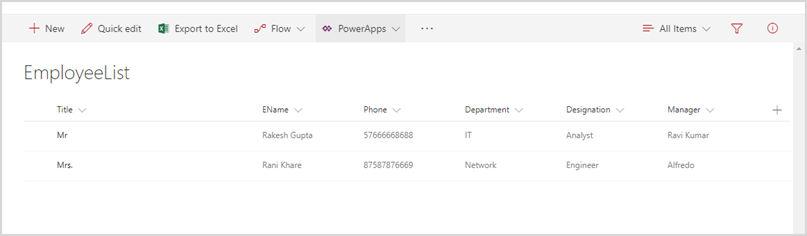
- Browse and signup into your SharePoint Online site and Create a SharePoint List, for example, “EmployeeList”
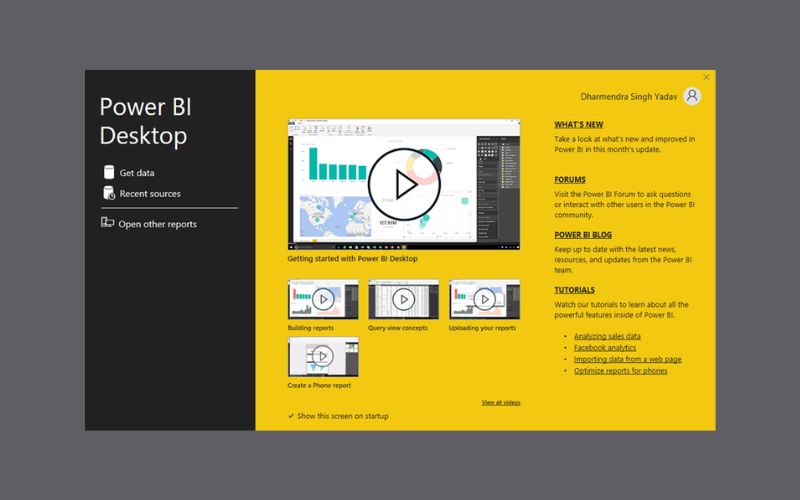
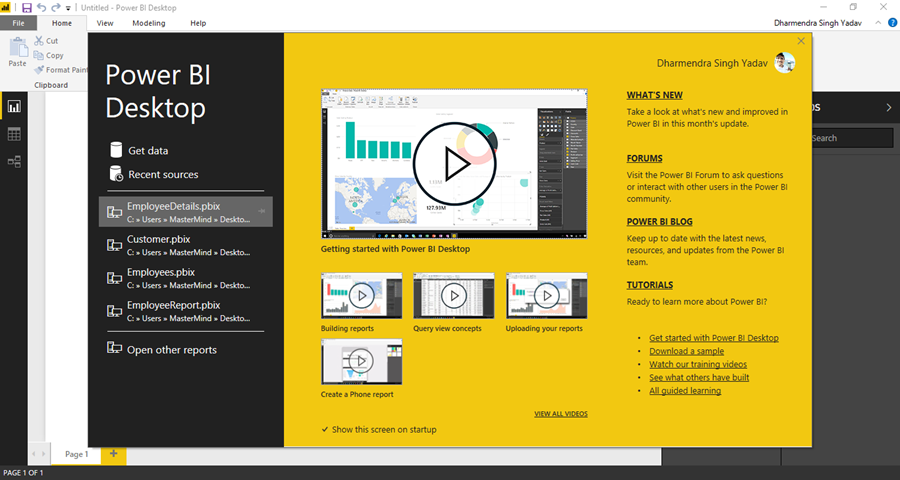
- Now, Install Power BI Desktop from here and Sign in with your office365 credentials.
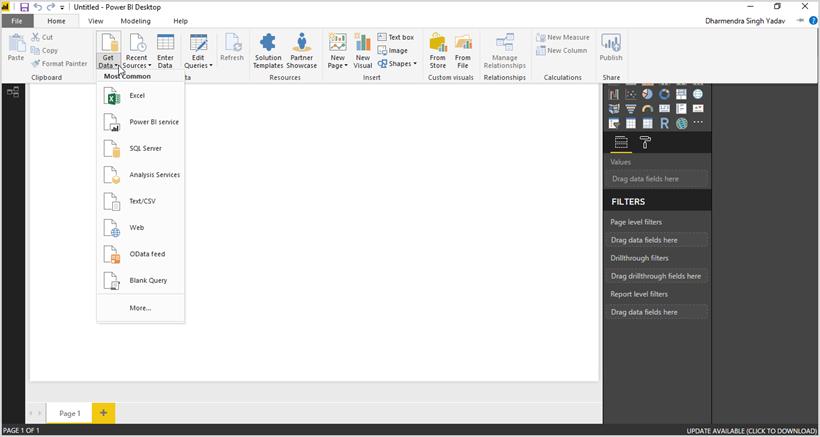
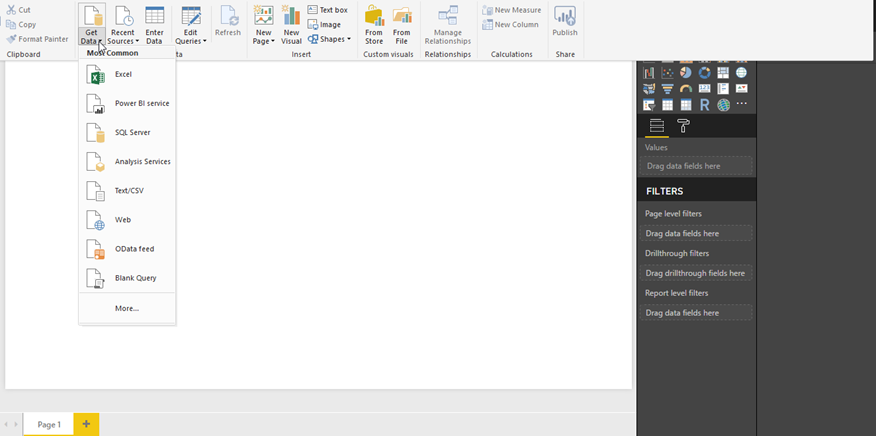
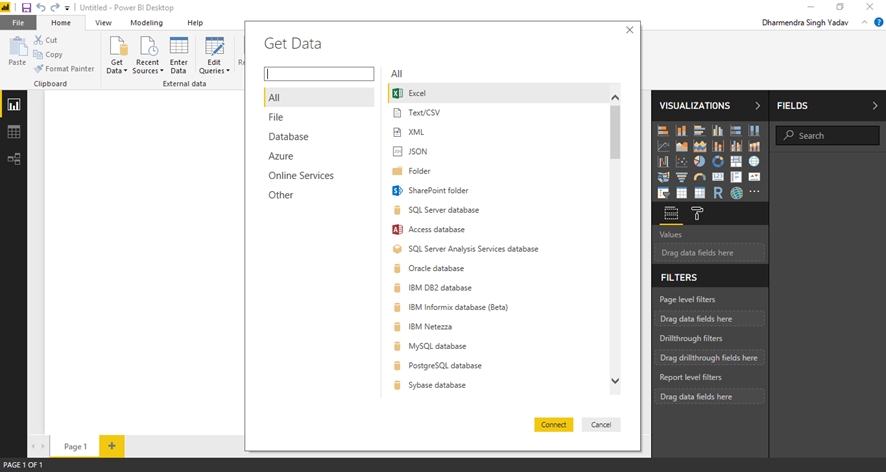
- Now, go to “Home” Menu and click on “Get Data” to import data from SharePoint List.
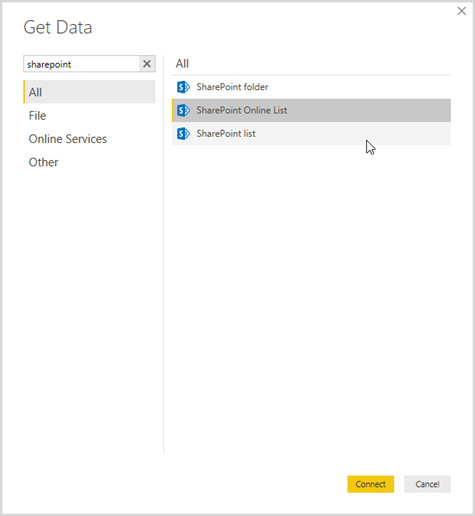
- Click on “More…” option and search “SharePoint” to select SharePoint Online List as depicted in below screen.
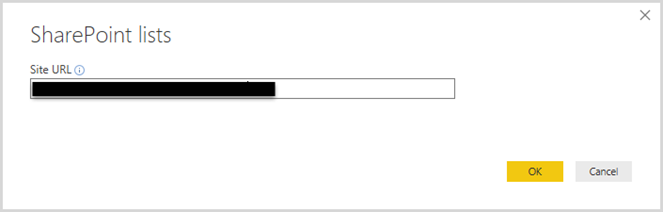
- On the following screen, provide your SharePoint Online list URL and click on Ok button to continue.
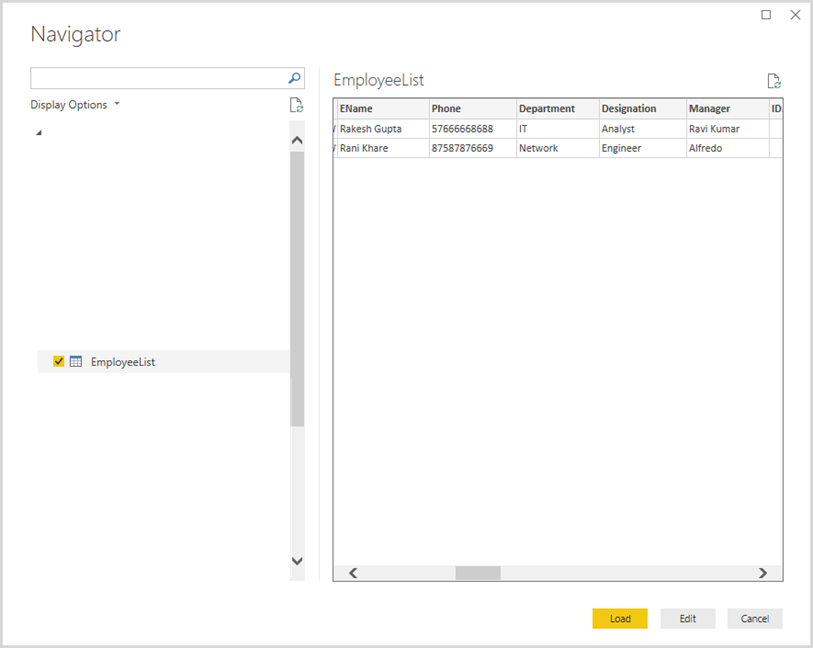
- On “Navigator” screen, select your SharePoint Online List to get the data from your list and click on “Load” button.
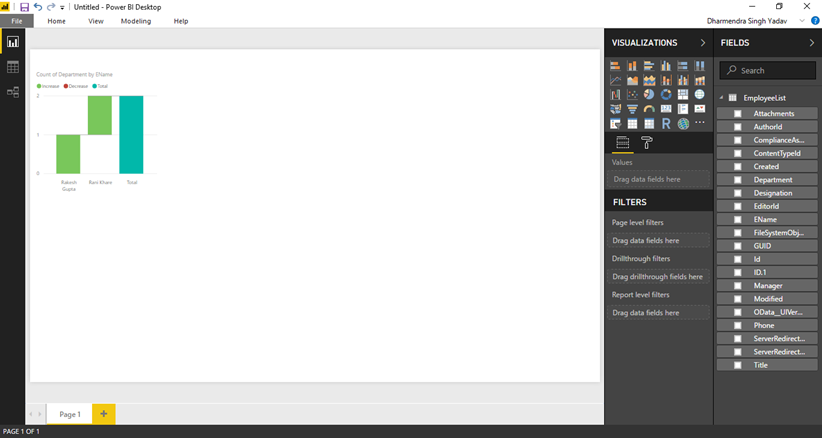
- Now, select the Visualization from the imported list that you want to show on your report.
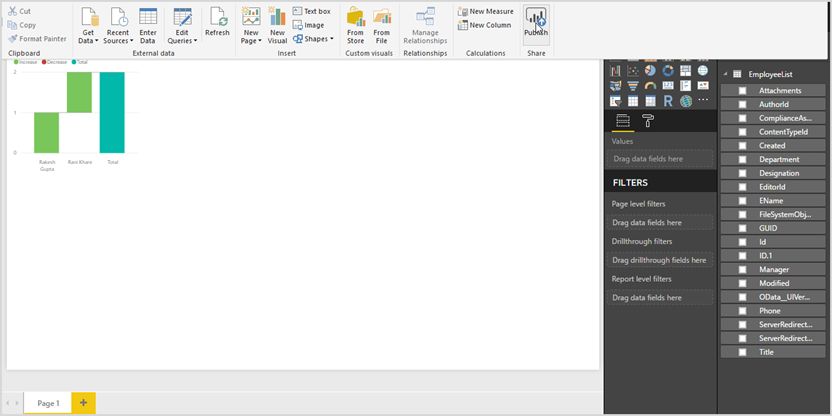
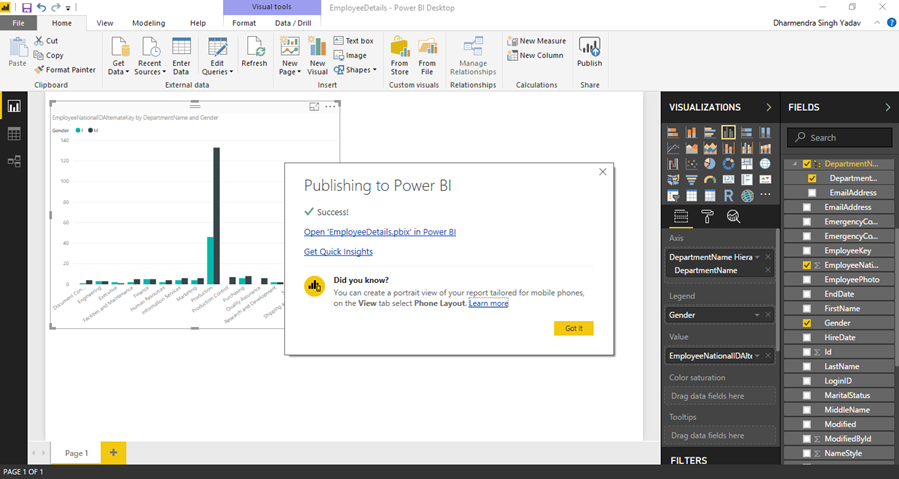
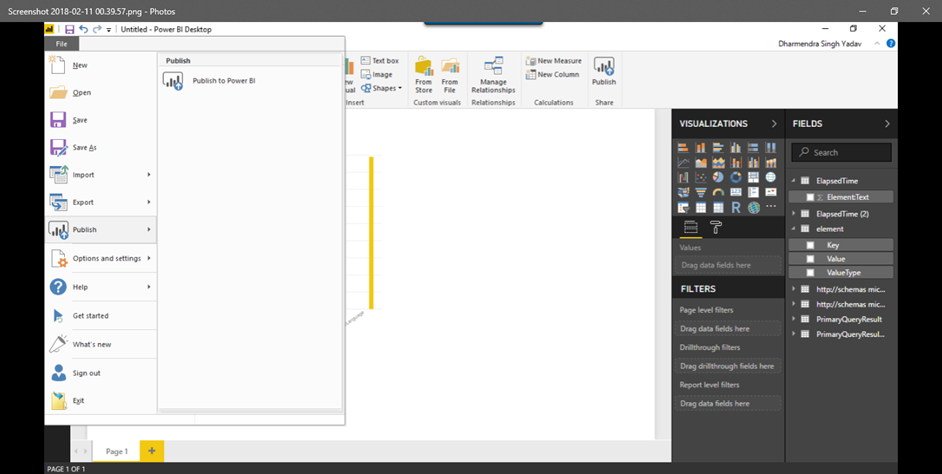
- Save your report and click on Publish button on the Ribbon.
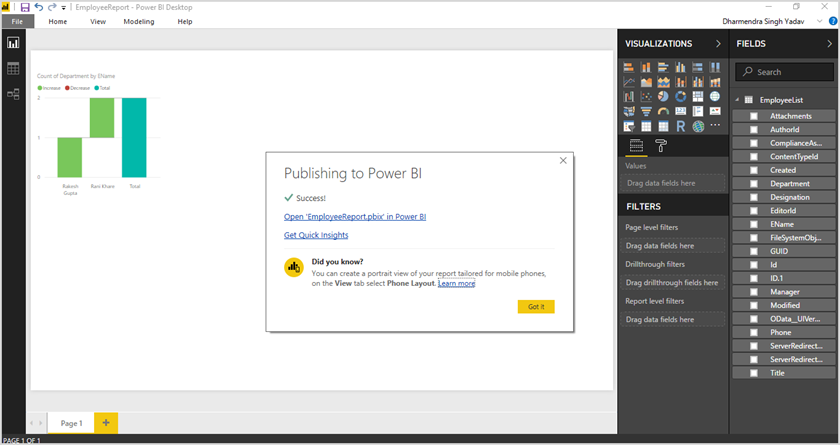
- On “Publish to Power BI” screen, Select My Workspace option as a destination and publish the report on Cloud.
- Now, login into Power BI version in the Browser and Click on Datasets under My workspace section of the left navigation
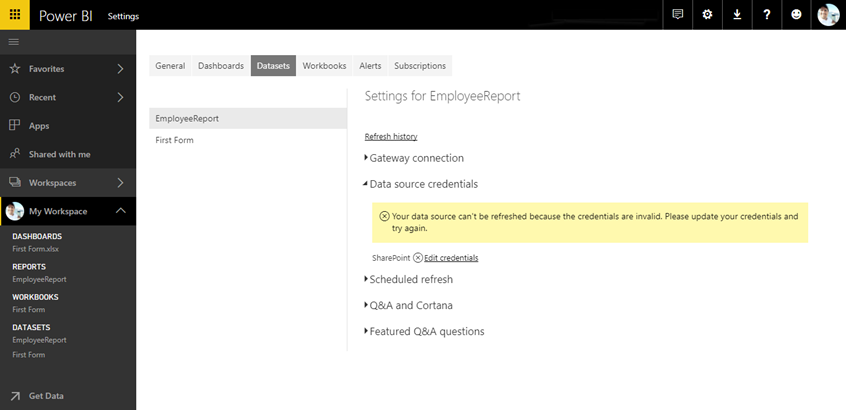
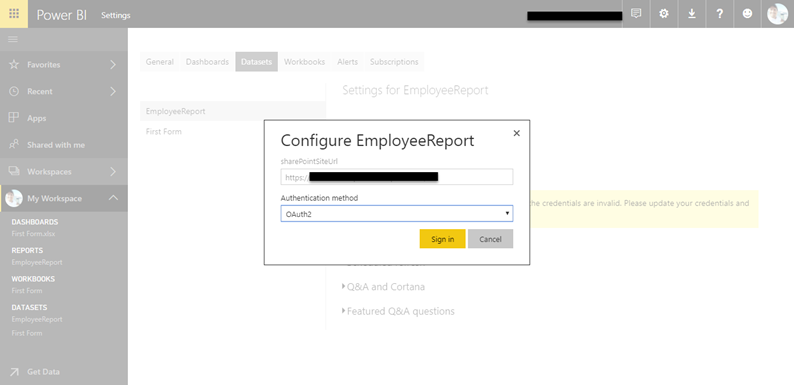
- Check the “Data source credentials” settings for the EmployeeReport and Edit credentials for your report by selecting OAuth
- Click on “Schedule Refresh” settings and add time to refresh your data on the report and click on Apply button

- Now, we’ll create Dashboard for your report and Share with other using embed code.
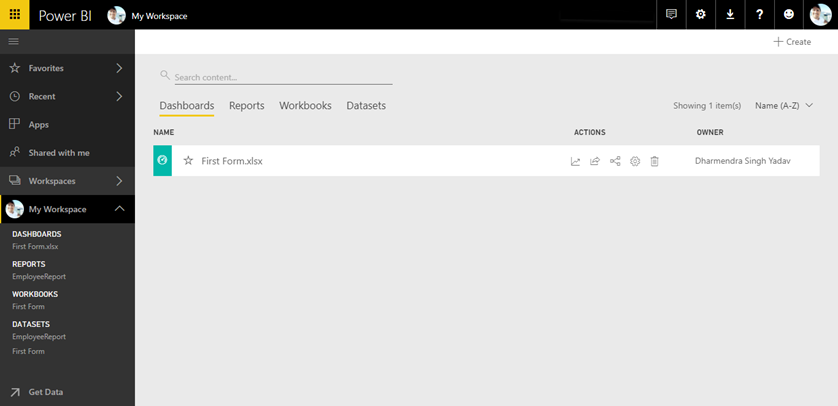
- Go to “My Workspace” and click on Create button.

- To add a report on Dashboard, go to Reports in My workspace in the left panel and click on “EmployeeReport”.
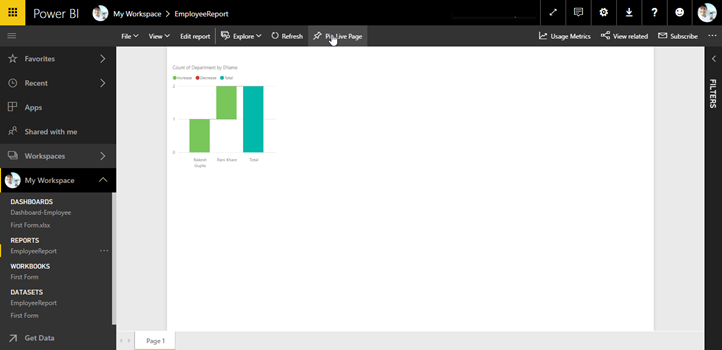
- Click on “Pin Live page” to insert report on Dashboard and select existing/new Dashboard On the “Pin to Dashboard” screen as depicted below.

- To share your report on public website using embed code, click on File menu on the report’s Dashboard and select “Publish to web” option

- On the following screen, click on “Create embed code” button to publish
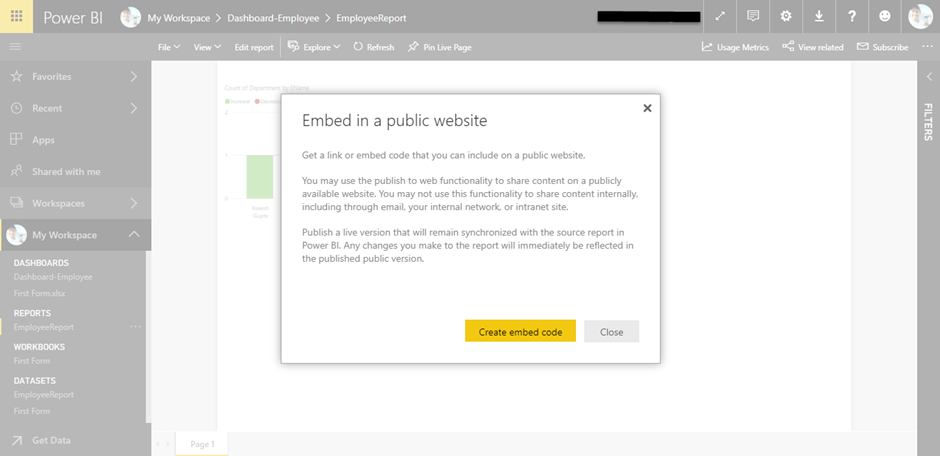
- Now, you can get the embed code from the popup window to share.
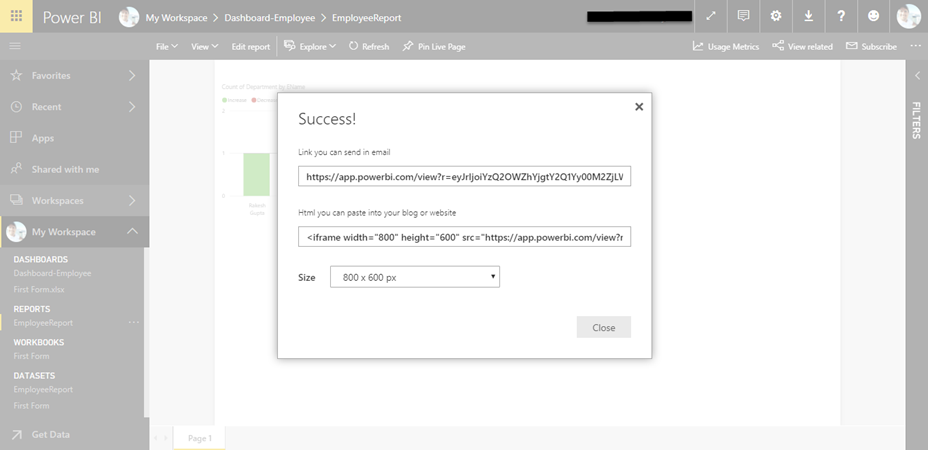
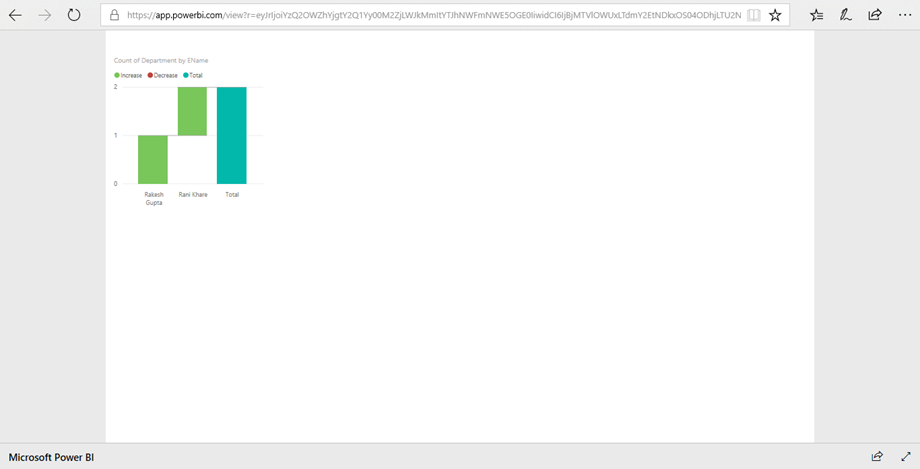
- Now, we are done with the report and it’s accessible with URL given for the sharing.
Import data from an OData feed using Power BI
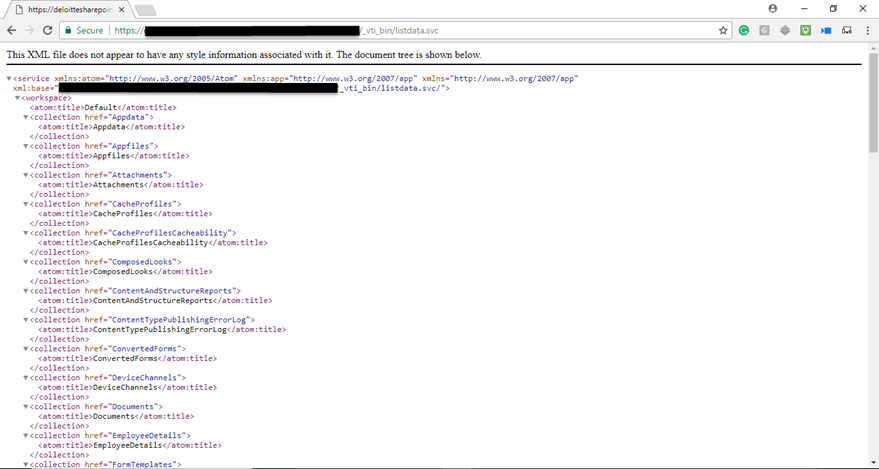
The Open Data Protocol (OData) is a REST-based protocol for querying and updating data that is built on standardized technologies like HTTP, ATOM/XML, and JSON. Now, we’re going to import data from our SharePoint Online REST (OData) service https://siteurl/_vti_bin/listdata.svc
- Open your Power BI Desktop and Sign in with your office365 credentials.
- Now, go to “Home” ribbon tab and select Get Data
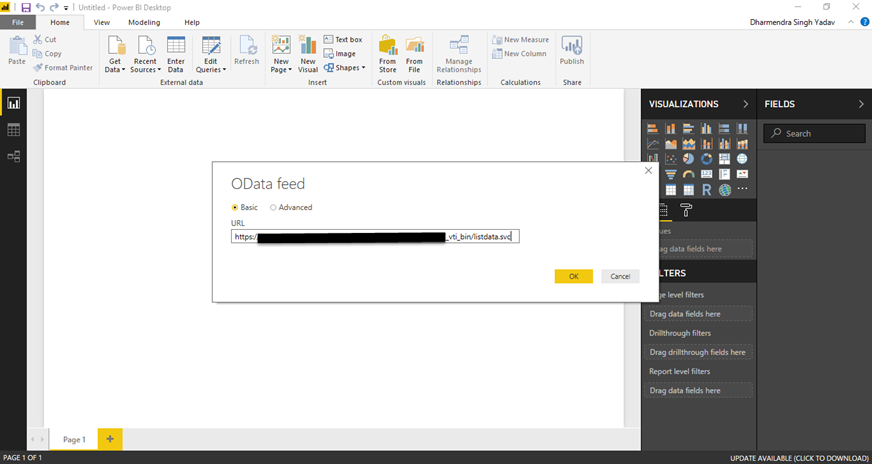
- Click on OData feed from the Menu and provide OData service URL on the “OData feed” popup screen.
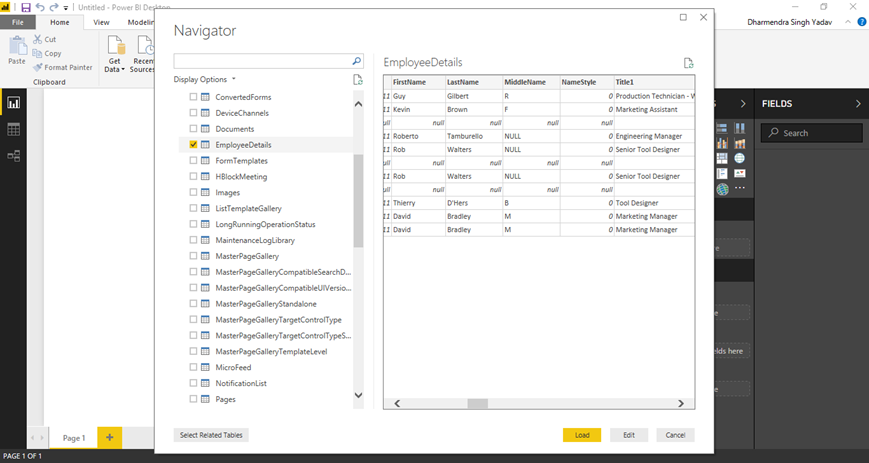
- On the following “Navigator” screen, you need to select the table that you want to include in the report and click on Load button to continue.
- On the following screen, select the Visualization for your report and provide columns for the filters.

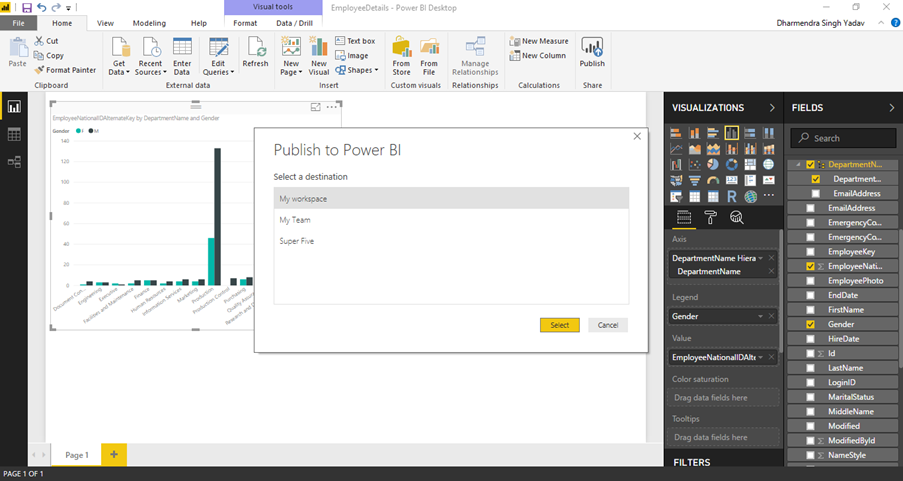
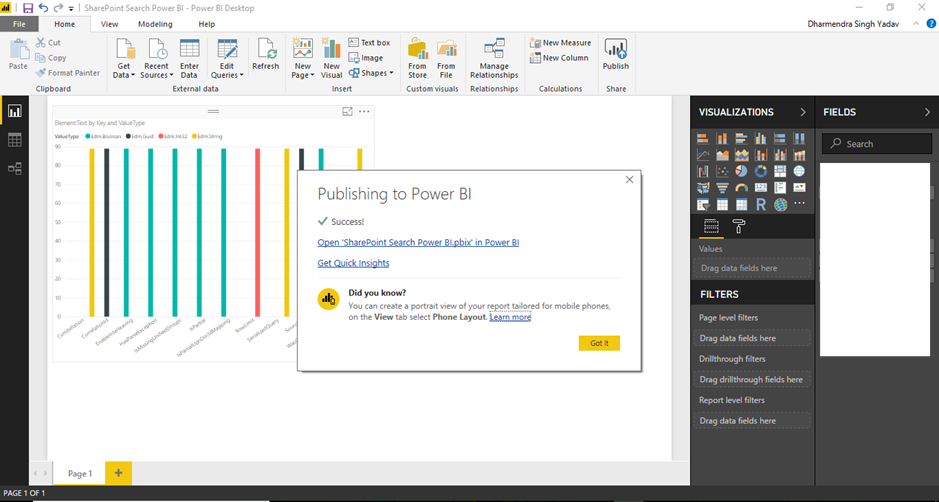
- Save and publish the report. Select My workspace on the “Publish to Power BI” screen and click on the select button to continue.
- On the following screen, you see the report publishing is done successfully,
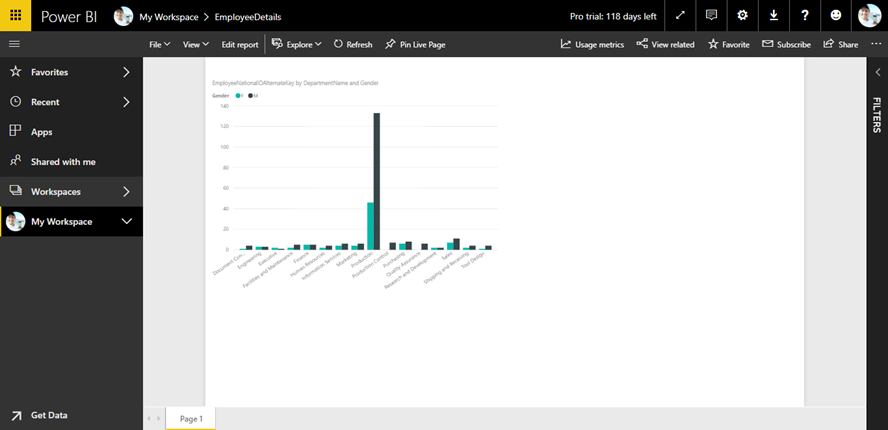
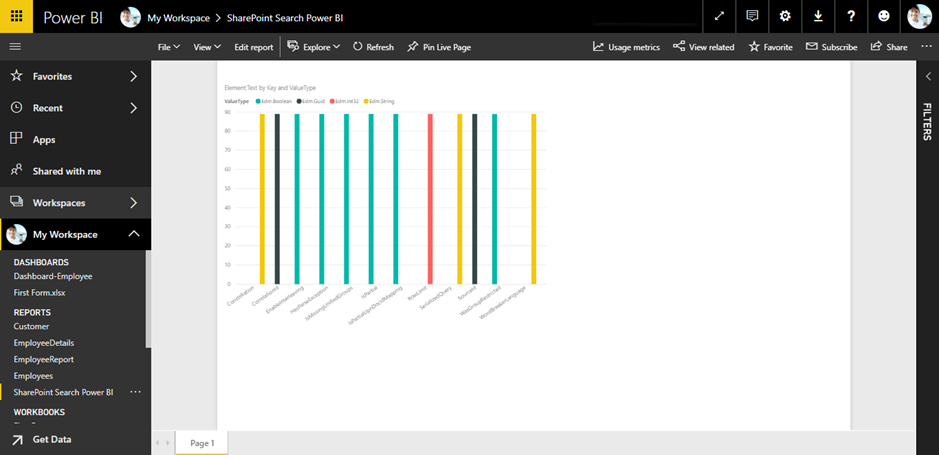
- Now, open your web browser to check the published report on the cloud Power BI.
Import SharePoint Search data to Power BI
SharePoint search enables user to find information quickly and easily. It provides search API for the more advanced custom solution. Also, We can use these building blocks to get data from SharePoint search to Power BI. It allows a user to find records based on specific contents. Here, we’ll do it step by step. So let’s start
- Open an instance of Power BI and sign in with your Office 365 credentials.
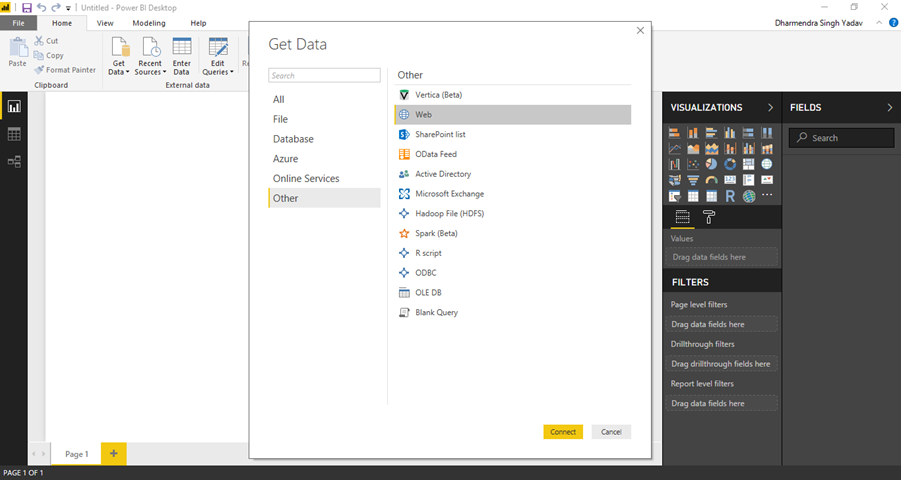
- Click on “Get Data” link from the left panel of the screen.
- On the following screen, Click on Other type and select the Web option from the list. Click on Connect button to continue
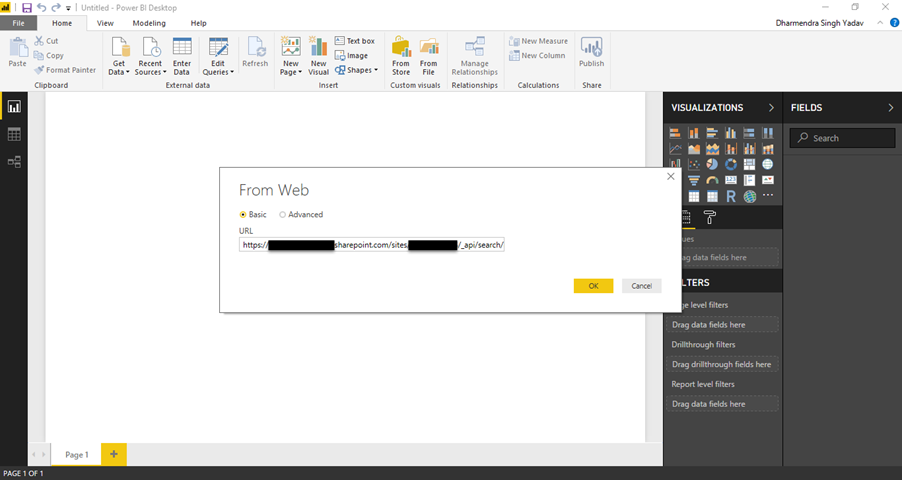
- You need to provide your SharePoint Search API URL in the given text box and click on OK button for next step. Here is basic URL for SharePoint Search API: http://siteurl/_api/search/query?query_parameter=value&query_parameter=value
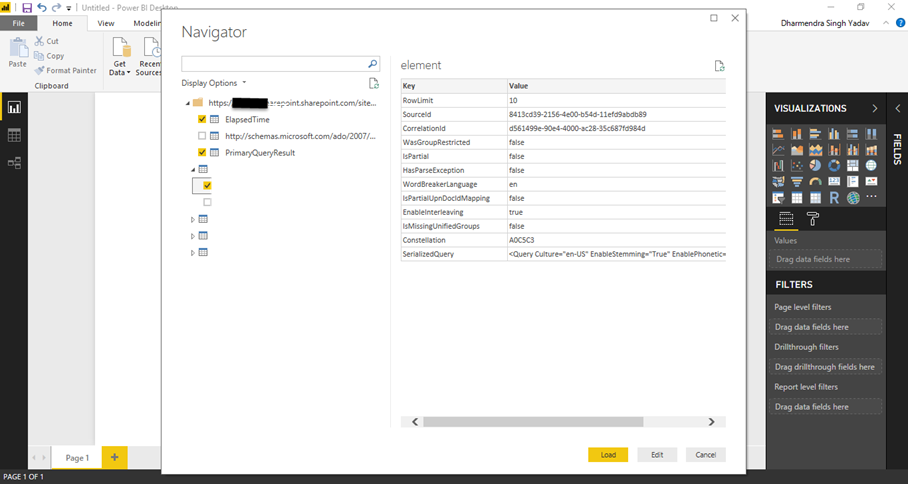
- On the following Navigator screen, you will see your search related result that you can use in Power BI report. Select the data that you want to filter and click on Load button to continue…
- Now, you can choose a Visualization for your report and select fields that you want to show on the report.
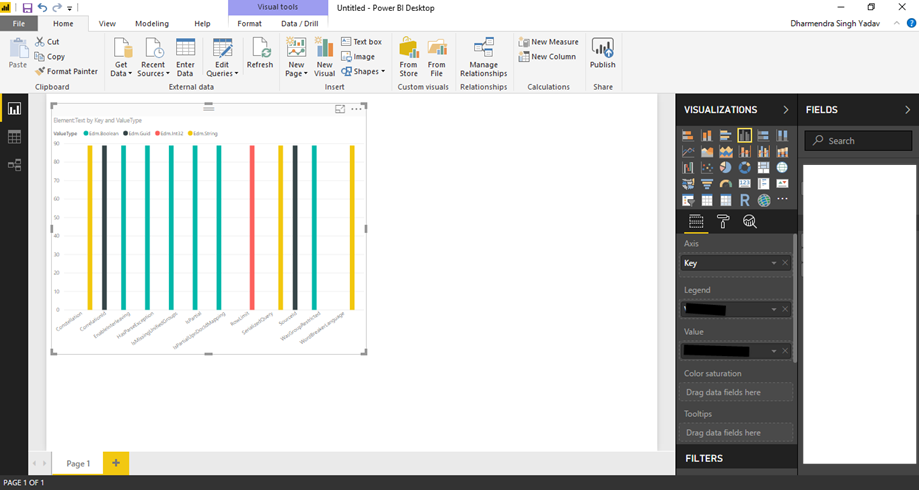
- Now, you’re done with the report and can deploy this new report on Power BI cloud.
- On the following screen, Go to File Menu and select Publish option. It will prompt you to save the report.
- On the next screen, select My Workspace on Publish to Power BI screen and click on the Select button to publish the report.
- Finally, you can access your deployed report in Power BI browser under my workspace.
SharePoint data synched from SQL Azure to Power BI using SQList
As many of us are familiar that exporting data from SharePoint to SQL server never been easy. It requires custom development or BCS integration to fatch data via External Content Types. Here, I have used a great tool that simplifies hurdle of this integration of SharePoint to SQL Database. SQList (a Axioworks product) is a tool that allows you to export SharePoint data to SQL server in the fast and easy way. So, let’s see how it works
- You need to download a trail/license version of this tool from here and follow the instruction to install it.
- Once, you have installed this tool. You can open an instance of SQList Manager which allows you to copy your SharePoint data to target SQL Server database. click New Replication button to continue…
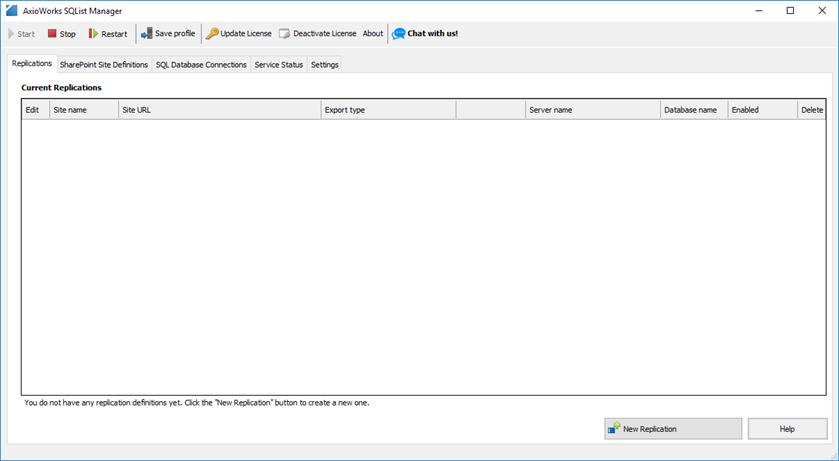
- On the following screen, there are six stages given to export data from SharePoint to SQL Server. We’ll go on each stage one by one.

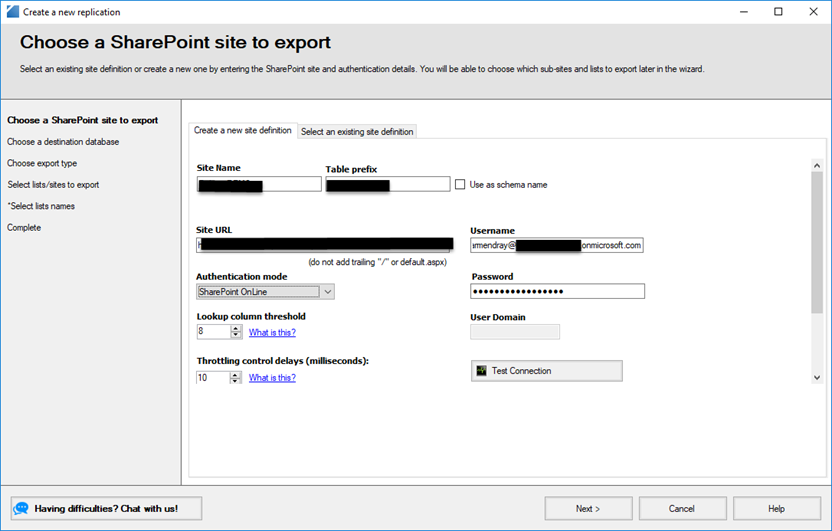
- On the below screen, you will provide your SharePoint site details and select an Authentication mode to establish connection as depicted below in this screenshot. Note – This application does not support Multi-factor authentication. And, if you have enabled Multi-factor authentication for your Office 365 login. You need to create an app password to establish connection with SharePoint site. Click here for more details.
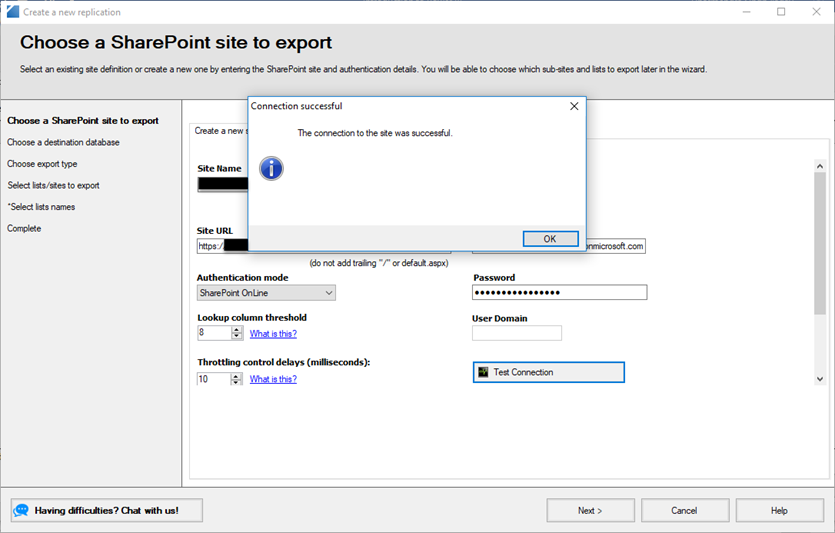
- Once, you have entered all required details. You can test the connection by clicking “Test Connection” button. If the connection is established. It should open a “Connect successful” popup window. Click on “OK” button to continue…
- Click on “Next” button to move on next stage where you will be providing for your destination database details. Using this application, you can export your data to any version of SQL Server starting SQL Server 2005. Also, It is integrated with Microsoft Azure SQL database service. So, you can export your data on Azure seamlessly.
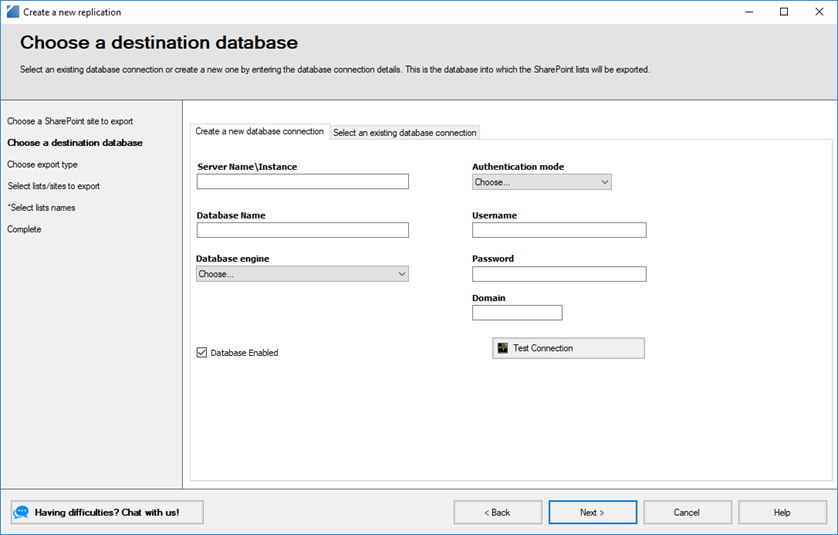
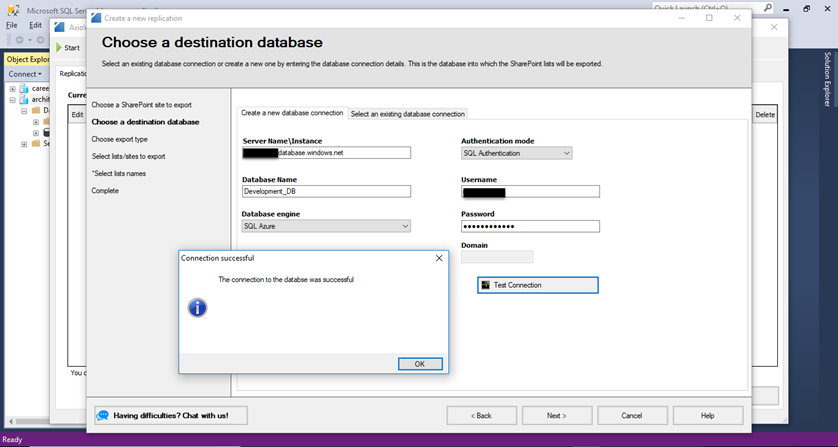
- On the following screen, you need to enter your SQL Server details to establish a connection to export data. Click on Test Connection button to test connection parameters for your Database engine. Click on Next button to continue.
- Next stage is to select an export type, you can choose to export data from your top level site. Also, you can export data from site’s subsite by setting the deep levels. Choose Export lists and libraries from this site the only option and click on Next button to continue.

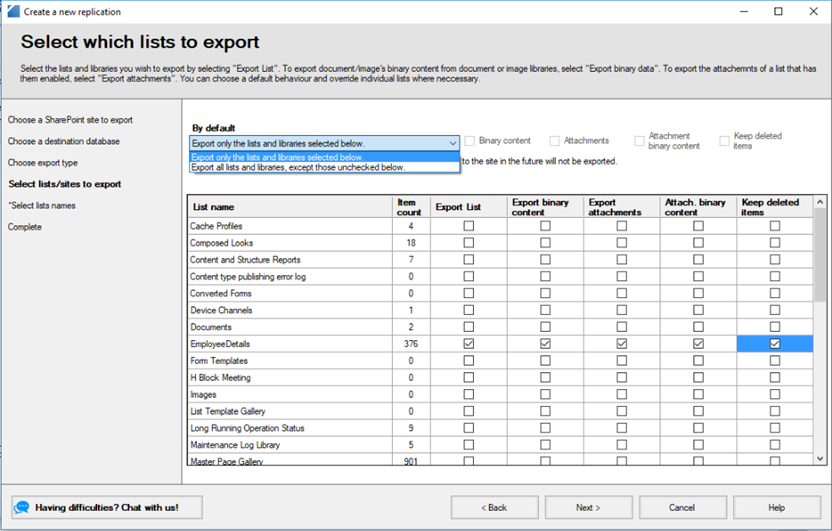
- On the following screen, there are two options in the By Default dropdown to export the data for selected lists and libraries. You can select lists and libraries with content that you want to export like attachment, binary content and deleted items etc. Click on Next button to continue.
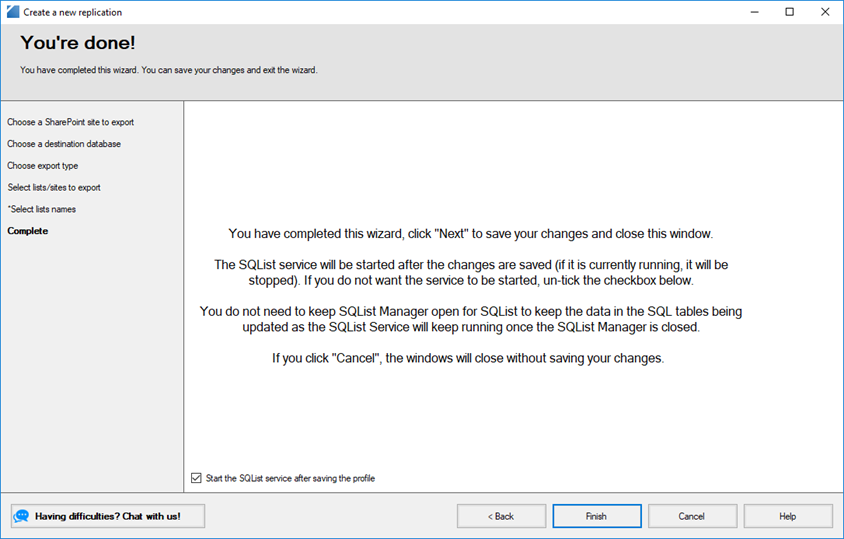
- Here, we have completed with export wizard. Click on Finish button and close the window.
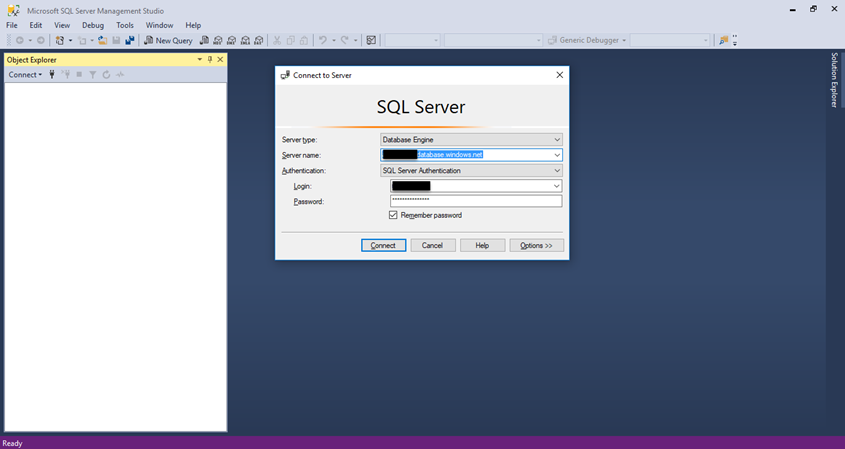
- Now, we’ll open an instance of SQL Server and connect with Microsoft SQL Azure to verify the exported data. Enter your SQL Azure server name and credentials and click on Connect button to continue.
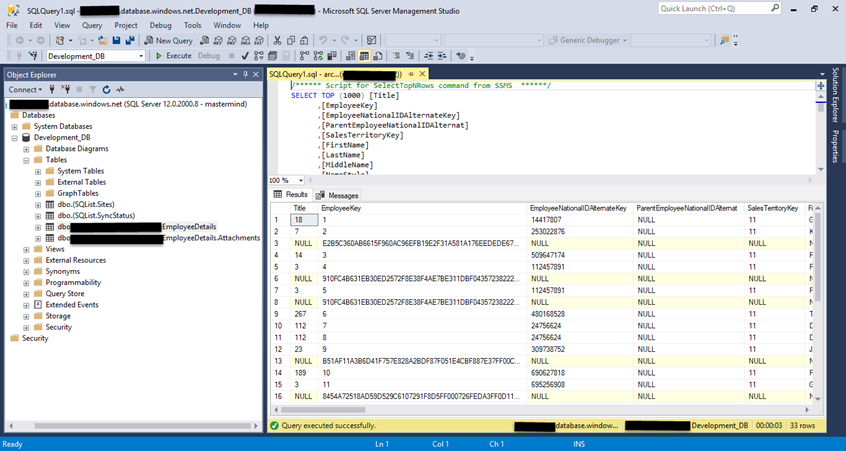
- On the following screen, Open Object Explorer in the SQL Window and click on Databases. you can see the exported SharePoint lists and libraries inside the Tables folder.
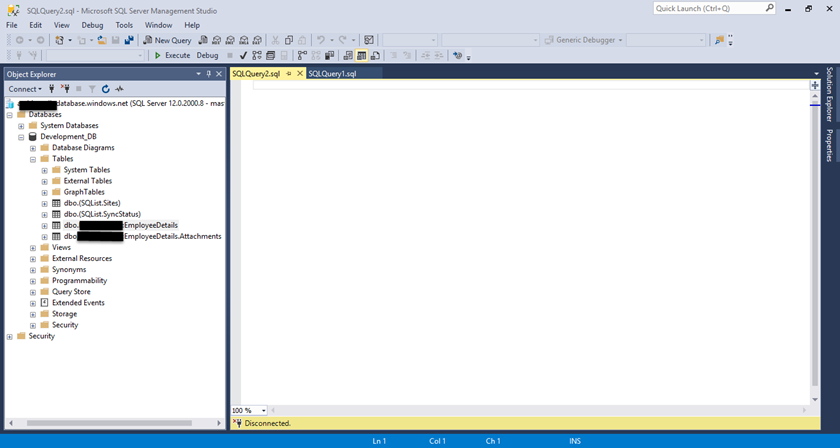
- Now, we can check data inside exported tables by executing “Select” query as depicted below in the screenshot.We have checked our exported data in the SQL Azure. Now, we get fetch data from SQL Azure to Power BI.
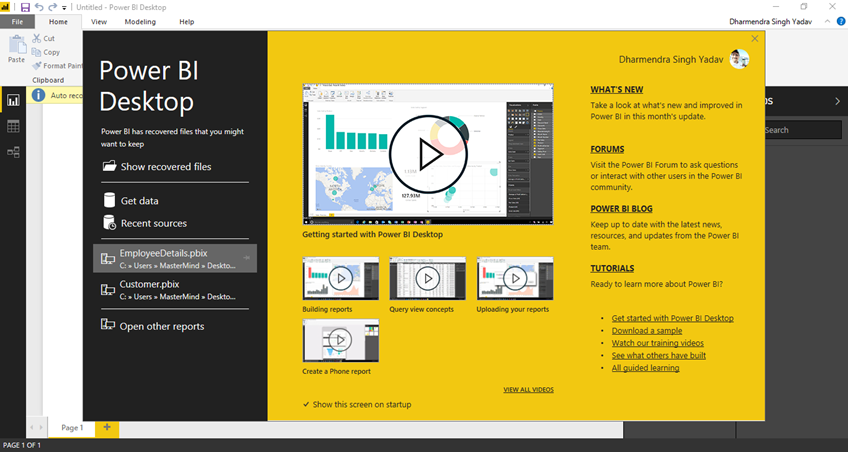
- Open an instance of Power BI Desktop, and click on Get Data from the left panel of the screen.
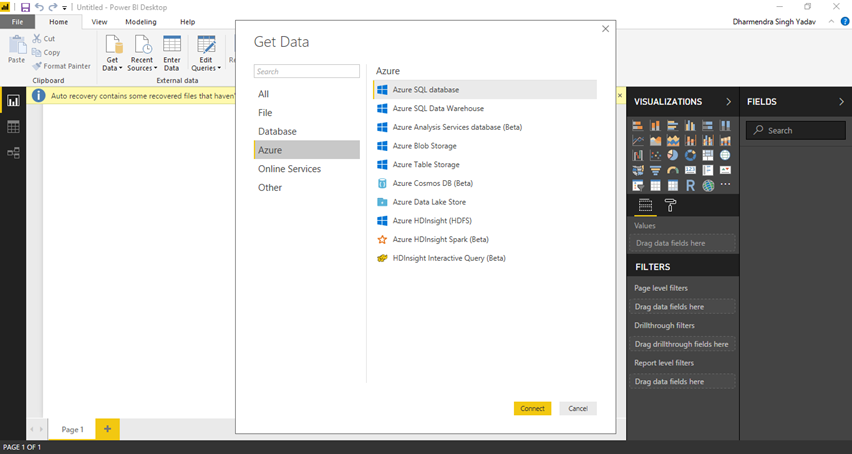
- On the following screen, Click on Azure and select Azure SQL database to connect with exported data. Click on Connect button to continue..
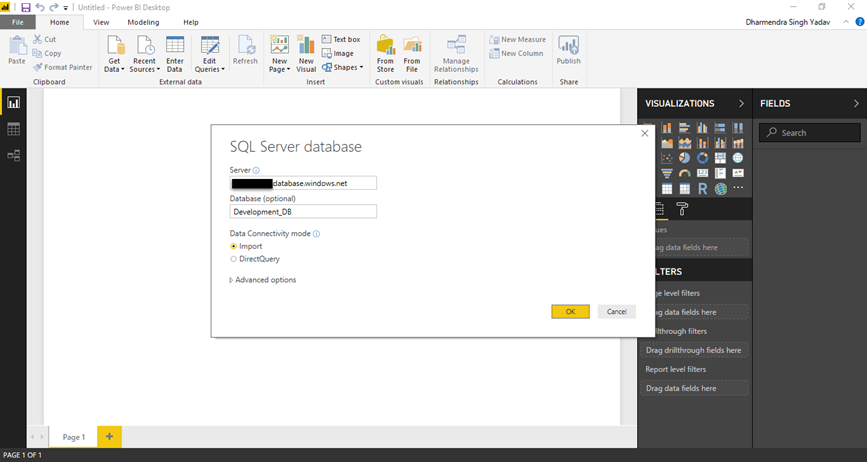
- On the popped up window, you need to enter your Azure SQL Server Name and database from which you want to import data into Power BI.
- On the next window, you need to authenticate your connection by providing your Azure SQL database credentials. Click on Connect button to continue…

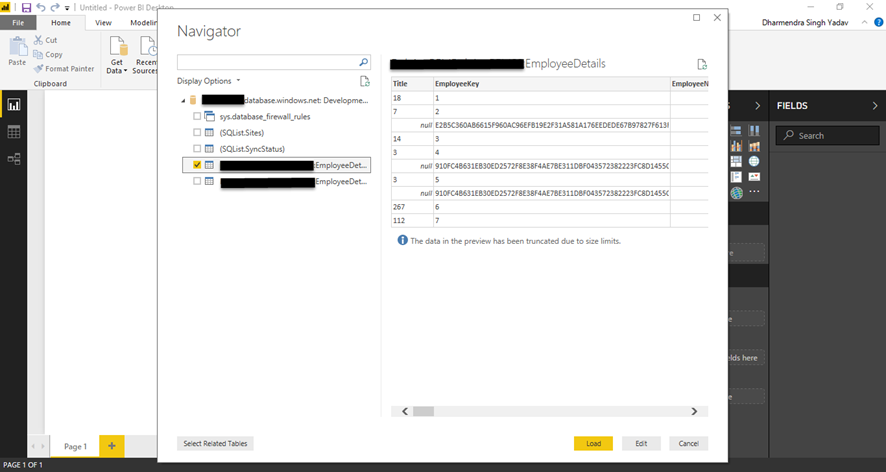
- Now, you should be able to see your imported tables on Navigator screen. Verifiy your tables and select the tables that you want to use for reports.
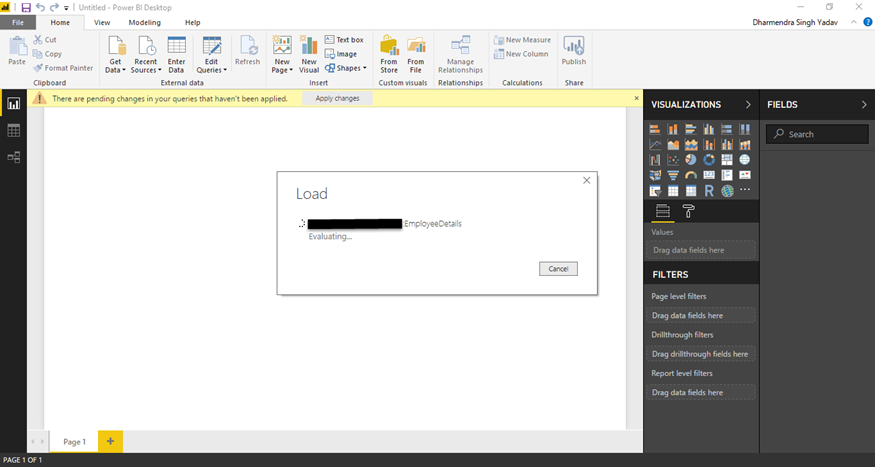
- Power BI will load the data by evaluating it. Just wait for a couple of seconds to see data in the Power BI.
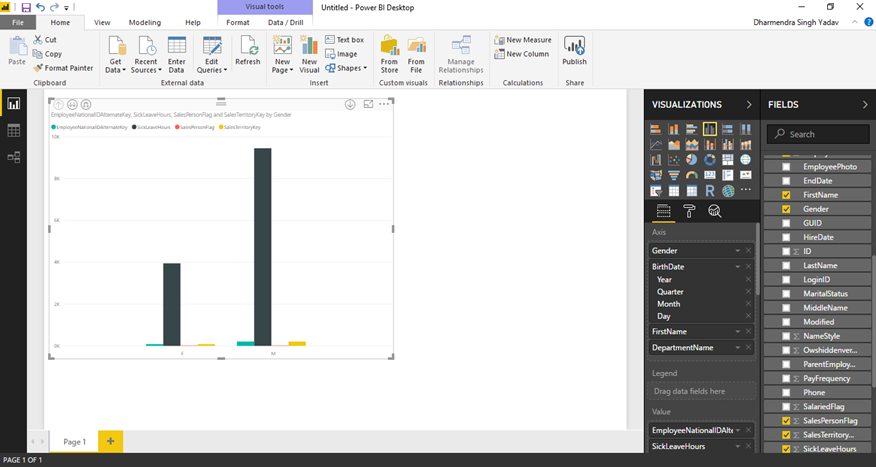
- On the following screen, you need to select the report format for the Visualization and columns that you want to place on the report. You should be able to see the reports on the screen.
Well done!
Now, You should be able to import you SharePoint data to Power BI. This blog helps you to understand Power BI Desktop and Power Bi web Browser versions and features of both. Also, it helps you to bring data from your various data sources to Power BI and design your visualizations for the reports.
Keep reading and learning.