When it comes to a reporting solution, Crystal Reports is the de facto standard in the reporting world.
In this blog we will cover how we can generate a Crystal report based on data from a SharePoint List. To do this we will first export the data from the SharePoint list to SQL Server using SQList. Once the data is exported in SQL Server, we will use Crystal Reports to create reports using the exported data. The data export process from SharePoint lists to SQL Server can be configured to be either a continuous process or an On-demand one. So, you can choose either from them depending whether you want the generated reports to be in sync as any point of time or only at specific time.
There will be two steps for us to get the end result. Let’s start with the first step that is syncing the data between SharePoint lists to SQL Server.
You will need a copy of our SQList which you can download a trial from here
Step 1: Export the SharePoint List data to SQL Server table
Launch the SQList Manager. If you haven’t set up a replication yet, your default screen would look like as below. In case, if you had already set up replication before and you would like to use that data for generating a report in Crystal Reports, you can skip the Step 1 and move to Step 2. Otherwise, you can follow along the Step 1.
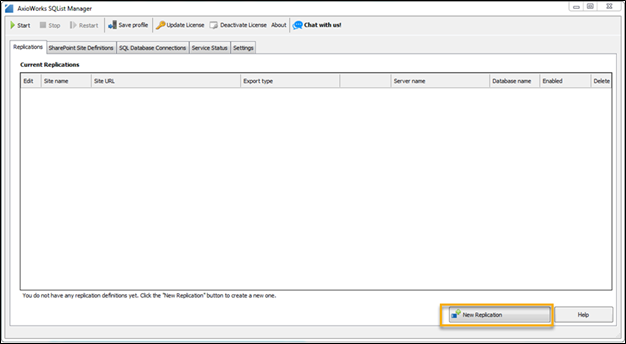
Click on ‘New replication’ button in the manager. We will be setting up a replication from scratch. As soon as you opt for creating a new replication, SQList Manager will take you through a step by step wizard for setting up a replication.
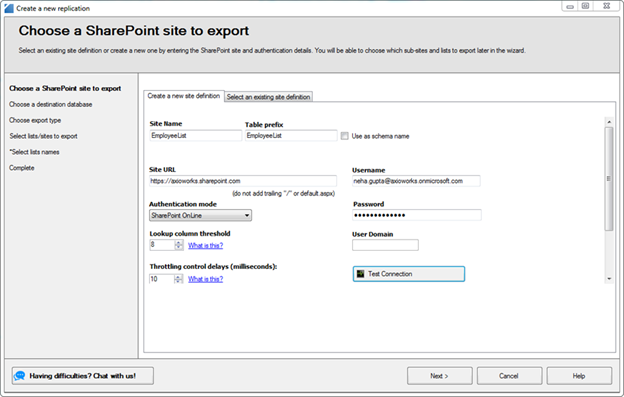
The first step for you will be to specify the details of the SharePoint Connection. The main details of a SharePoint connection include:
- Site Name: It is the user friendly name of the connection which you will use to refer the connection.
- Site URL: It is the URL of source SharePoint Site. It is important to note that it is the URL of the main sites not the URL pointing to a specific list or library.
- Authentication Mode: Type of authentication the SharePoint Site is using.
- Credentials: User name and Password of the legitimate user.
Once you have provided the connection details, you can test the connection and save it for further use and click on Next button.
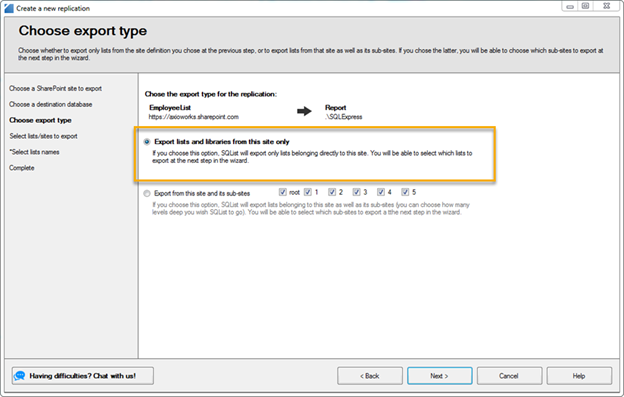
Select the type of replication you would like to perform, whether you want to like to replicate specific list or specific set of lists to be replicated in database. Other available option is to export the entire list connection that matches a specific name.
From the perspective of our blog, we will opt for the first option where we will export a specific list which contains the data for report generation.
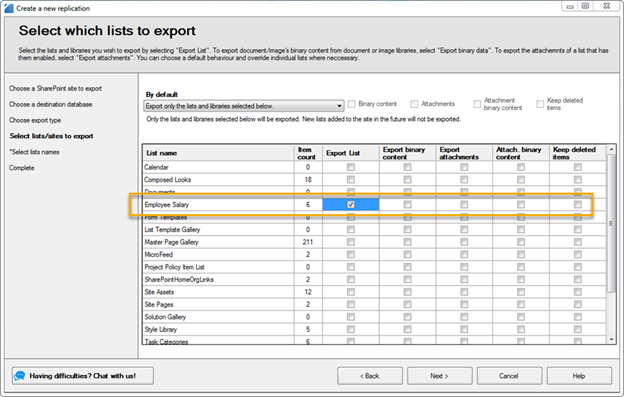
As soon as you click, you are presented with a view where you can select a single or multiple lists to export. If you need to make some modification relevant to export, you can perform that with the help of options present in the right corner. We have selected the “Employee Salary” list for the purpose the blog.
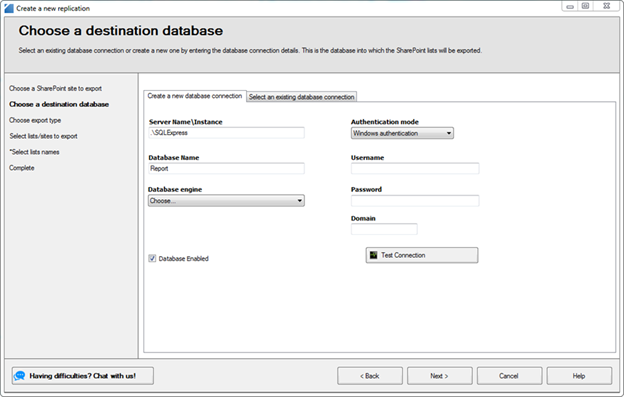
Now as you have set up the SharePoint Connection, the next step will be to set up the SQL Connection. You need to provide the basic details related to SQL connection like
- Connection Name: You need to specify the name for the connection.
- Server Name: You need to specify the SQL server instance name.
- Database Name: You need to specify the name of the database where the exported data will be saved.
- Database Engine: You need to specify the database engine version whether it is SQL server 2008 or which other version
- Authentication Mode and credentials: Lastly you need to specify the authentication mode to be used to connect to SQL server and the appropriate credentials (User Name and Password).
Replication set up is almost complete. You need to specify the behavior of this replication as in whether you want to start this replication as soon as you click on finish or you want to start this later. Also, you need to specify whether you want to enable the replication. For the purpose of the blog, we will check both the properties.
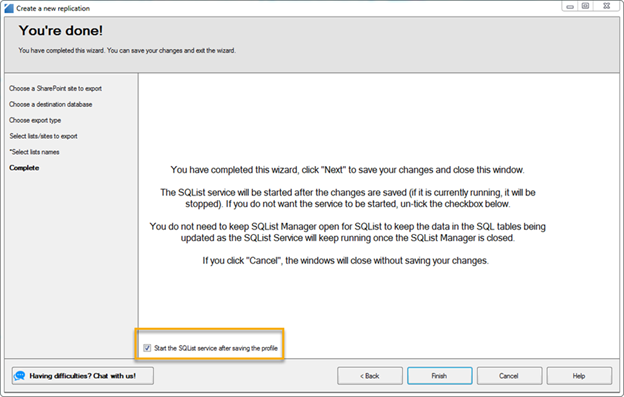
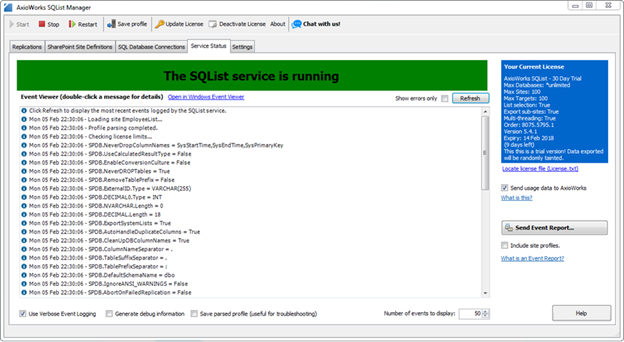
As soon as you click “Finish”, the replication set up is complete and the replication of the SharePoint list gets commenced. You can always check the status or logs of the replication in the service status.
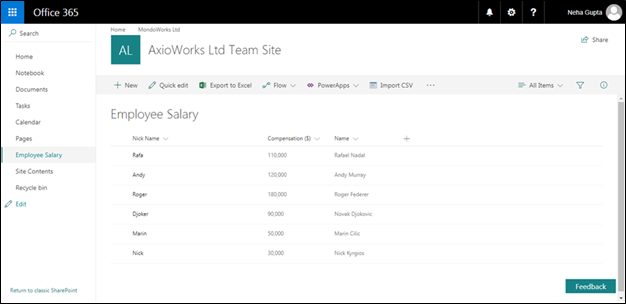
For reference purpose, let’s check out the structure and data of the list that we have exported. Employee Salary list contains compensation data of employees.
Step 2: Create Report using Crystal Reports
Now as we have replicated our data in SQL Server, then we can use the imported data and generate a sample report (Chart) using this data
Let’s launch the Crystal Reports app. For the purpose of blog, I am using version Crystal Reports 2016 which is the latest version when writing this blog but the same can achieved with any previous version as well.
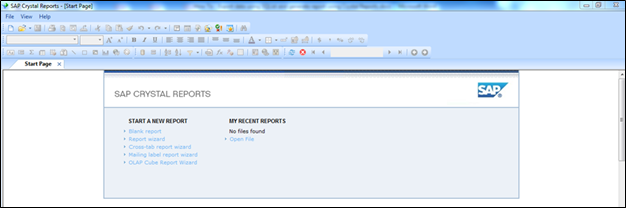
The start page of Crystal Reports provides you with a bunch of options to create a new report.
- Create a Blank Report
- Use a Report Wizard to create a report
- Cross Tab report wizard
- Mailing label report wizard
- OLAP Cube Report Wizard
We will go with the second option and use a step by step wizard to create a report.
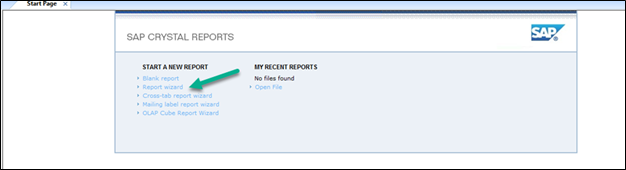
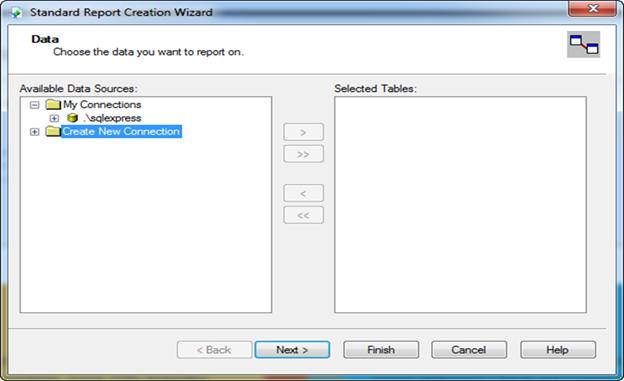
Now Click on the “Report Wizard”. Once you click on it, the wizard will open and show you the list of existing connections. It also provides you with the option to create a new connection.
As we don’t have any existing connection, the list is empty for us. You can expand the option to create a new connection.
Once you expand the options to create a new connection, you can see that Crystal Reports provides you with ways to connect to almost any type of data source. You can see that the range varies from files (like XML), SAP stores, Access and Excel and others.
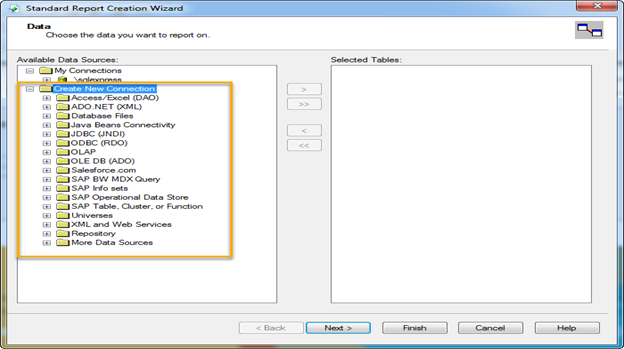
We have our data residing in the report database of SQL Server instance so we will select the OLE DB (ADO) option to connect to SQL Server.
OLE DB defines a set of COM interfaces to provide applications with uniform access to data that is stored in diverse information sources. This approach allows a data source to share its data through the interfaces that support the amount of DBMS functionality appropriate to the data source. For our case, SQL Server is the information source.
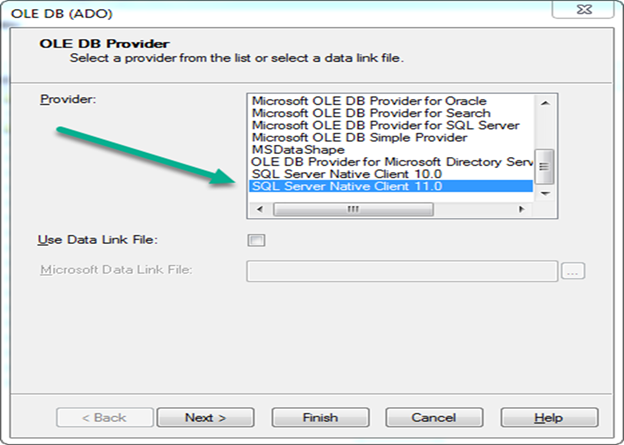
OLE DB Provider provides you with lot of options to choose from. Since we have to connect to SQL Server, we will select SQL Server Native Client 11.0 and then click “Next”.
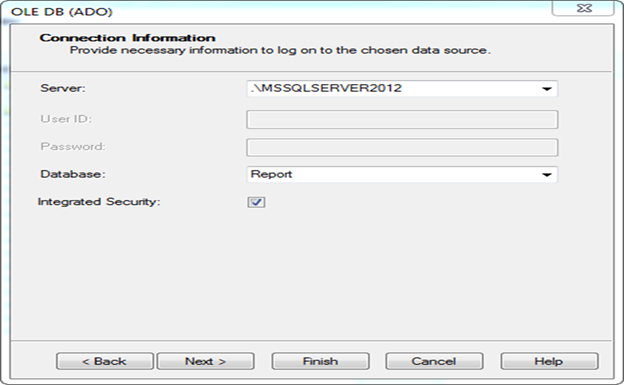
Now you need to specify the SQL Server instance details which will be used to connect to SQL Server. You need to provide the server name, the type of authentication and the source database.
We will be using the windows authentication (Integrated Security) to connect to SQL Server. Once you provide the details, click on Next.
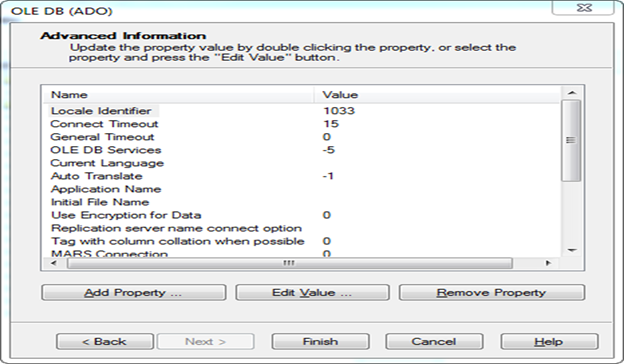
The next step involves configuration changes for advanced settings. If you need to override any settings like time out but we will not change any value and click on Finish.
As soon as you click on Finish, the connection set up is complete. You can see that a new connection will appear under OLE DB (ADO) connections, you can drill down it to select the relevant table ( EmployeeList.EmployeeSalary). Select the table and with the help of arrow button, move it to selected tables pane.
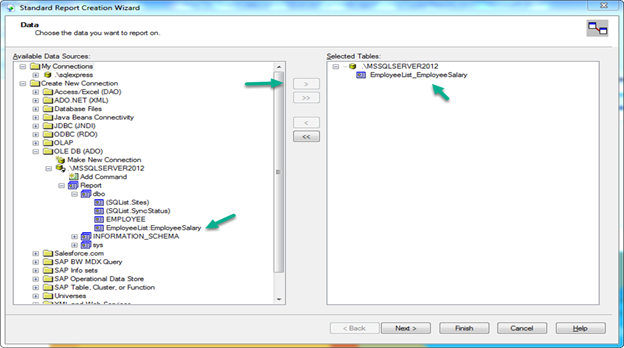
Click on Next to continue.
Now you need to select the fields from the table. We will be plotting a chart of employees against their respective salary. Hence, select the employee name and salary fields and move them into selected fields pane.
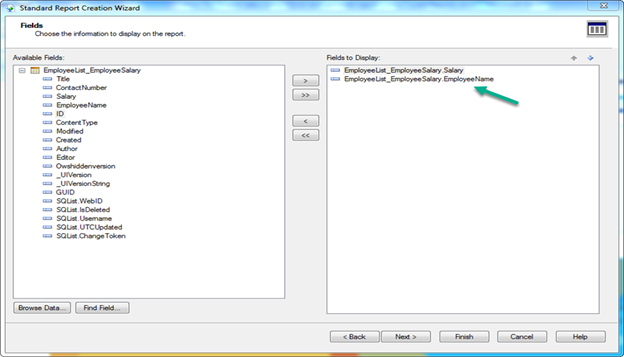
Click on Next to continue. If we want to group data we can do it at this stage. Since this is salary data we won’t do this.
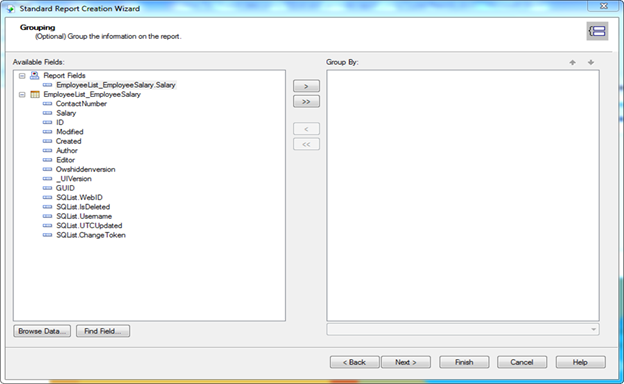
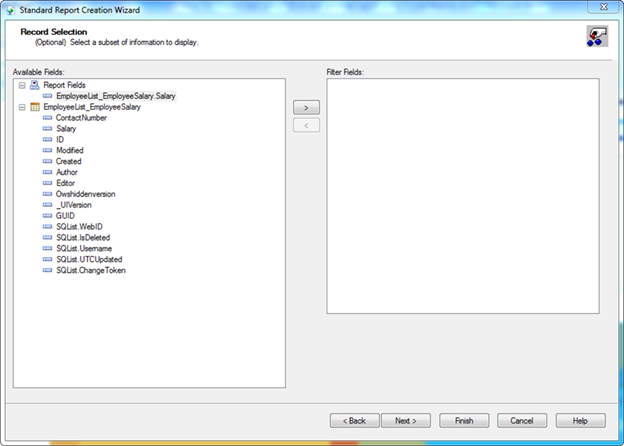
Click Next to continue. Next we need to specify subset or filtering on the basis of the columns, if any. For this report we will leave this blank.

The next and final step is to select a template. We will select the Block (blue) template for blog and then click on finish.
As soon as you click on finish, the report will be generated.
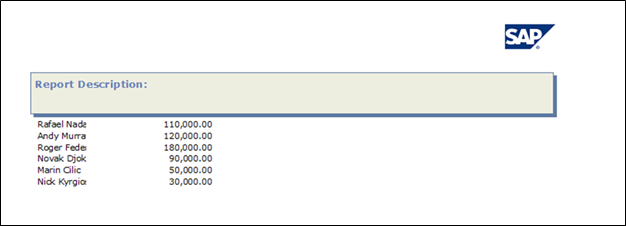
So, the report creation is complete and you can save the report for further use. We have chosen a very basic use case for the purpose of the blog but it can be extended a lot further depending upon the requirement, whether you want to export huge chunks of data residing in different lists (supported by SQList). Even if you want to generate a complex report with data coming from different tables is easily feasible from Crystal Reports prospect.